


This is the last blog as part of the series Full Stack: Remastering Master Data Management into graph like data. Hope you enjoy the series and find it useful !!
Introduction
Traditionally, any infrastructure setup used to take a long time with a lot of manual processes associated, but with the introduction of tools like Terraform, Chef, Ansible, Puppet, SaltStack, etc, it has become simple to manage, configure and provision the infrastructure setup.
It also gives wings to DevOps team that involves automatic managing and provisioning the technology stack through software.
Infrastructure-as-a-code comprises of three basic features:
- Provisioning
- Configuration Management
- Configuration Orchestration
Provisioning - It means they are designed to provision the servers themselves (as well as the rest of your infrastructure, like load balancers, databases, networking configuration, etc), leaving the job of configuring those servers to other tools.
Configuration Management - Configuration management tools like Chef, Puppet, Ansible, SaltStack, etc, are designed to install and manage software on existing servers. It could be the installation of packages, starting of services, placing scripts or config files on the instance, etc. So basically Config Management is part of the provisioning. “Provisioning” often implies it's the first time you do it. Config management usually happens repeatedly.
Configuration orchestration - Configuration orchestration tools like Terraform, CloudFormation, etc, are designed to provision the servers themselves. It refers to arrangement and coordination of automated tasks resulting in a consolidated process or workflow.
Terraform is an open source tool which can perform all the above features or requirements.
Terraform
HashiCorp Terraform is an open source tool that enables users to provision any infrastructure using a consistent workflow. While Terraform can manage infrastructure for both public and private cloud services, it can also manage external services like GitHub, Nomad, or Kubernetes pods.
Terraform enables provisioning infrastructure and infrastructure resources through an extensible ecosystem of providers (plugins). In addition to explaining the benefits of using Terraform to manage Kubernetes resources versus the Kubernetes CLI, this post also walks through using new Kubernetes provider to interact with Kubernetes resources (pods, replication controllers, and services) and enabling operators to control the lifecycle of Kubernetes resources using infrastructure as code.
Kubernetes Engine using Terraform
Terraform uses the same declarative syntax to provision the lower underlying infrastructure (compute, networking, and storage) and scheduling (application) layer. Using graph theory, Terraform models the relationships between all dependencies in your infrastructure automatically. This same graph enables Terraform to automatically detect drift as resources (like compute instances or Kubernetes pods) change over time. This drift is presented to the user for confirmation as part of the Terraform dry-run planning phase.
Terraform provides full lifecycle management of Kubernetes resources including creation and deletion of pods, replication controllers, and services.
Because Terraform understands the relationships between resources, it has an inherent understanding of the order of operations and failure conditions for creating, updating, and deleting resources. For example, if a persistent volume claim (PVC) requires space from a particular persistent volume (PV), Terraform automatically knows to create the PV before the PVC. If the PV fails to create, Terraform will not attempt to create the PVC, since Terraform knows the creation will fail.
Unlike the kubectl CLI, Terraform will wait for services to become ready before creating dependent resources. This is useful when you want to guarantee state following the command's completion. As a concrete example of this behavior, Terraform will wait until a service is provisioned so it can add the service's IP to a load balancer. No manual processes necessary!
I would show an example of using Terraform to get a Google Kubernetes Engine up and running.
Get Started
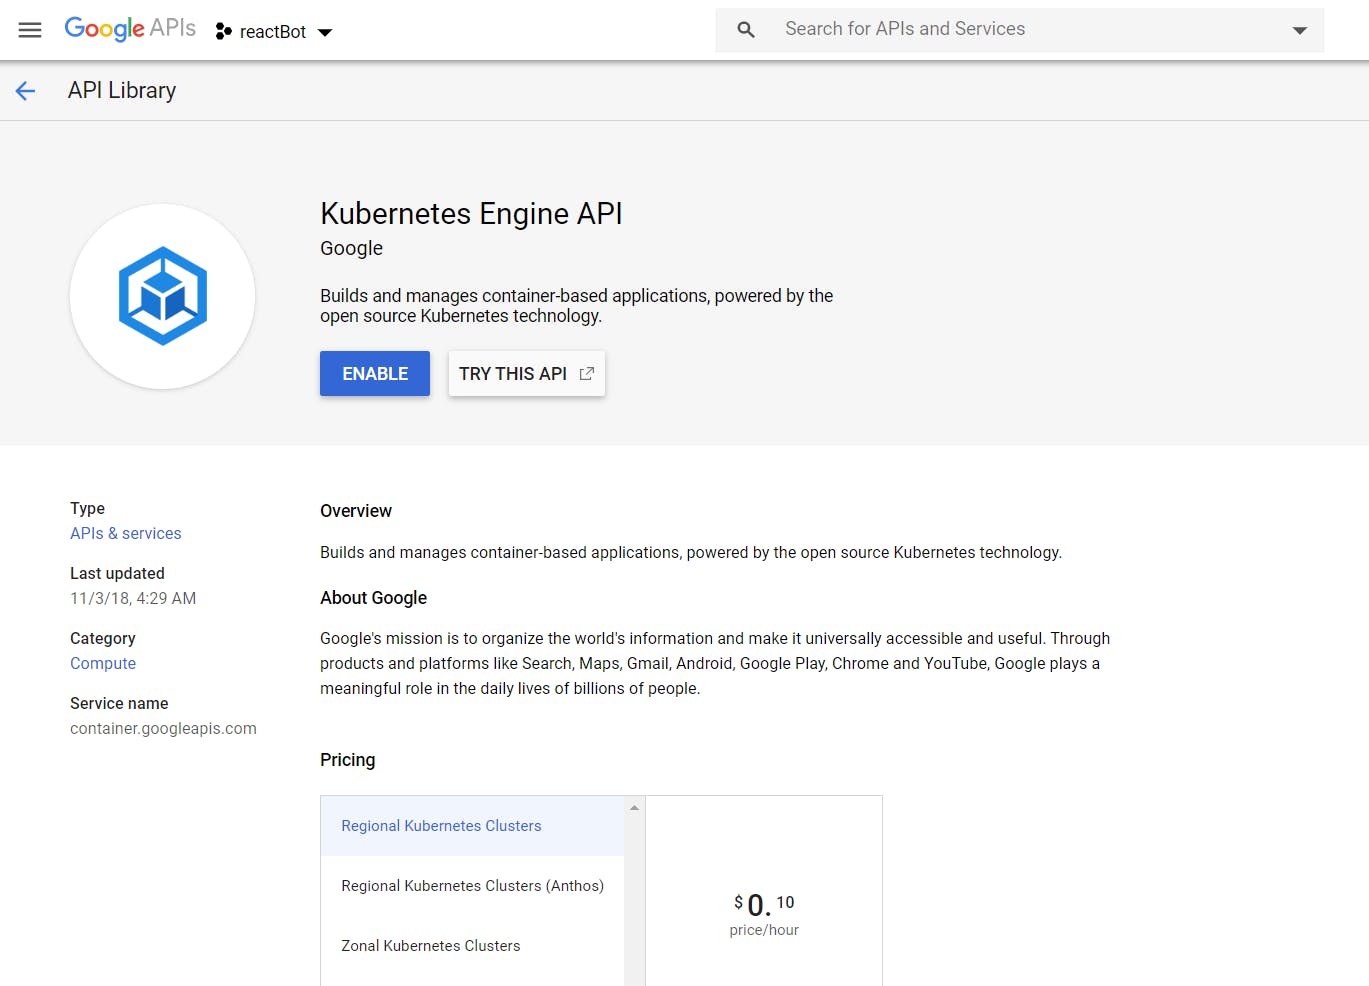
You would need a GCP account and enablement of Kubernetes Engine APIs.
You would need to follow the steps in Terraform Download page to install Terraform locally.
Once having that installed, create a new Project in GCP and assign relevant Roles and Permissions to the Service Account tagged to the project.
Now create a new folder in your local directory and name it as main.tf:
resource "google_container_cluster" "default" {
  name        = var.name
  project     = var.project
  description = "Demo GKE Cluster"
  location    = var.location

  remove_default_node_pool = true
  initial_node_count       = var.initial_node_count

  master_auth {
    username = ""
    password = ""

    client_certificate_config {
      issue_client_certificate = false
    }
  }
}

resource "google_container_node_pool" "default" {
  name       = "${var.name}-node-pool"
  project    = var.project
  location   = var.location
  cluster    = google_container_cluster.default.name
  node_count = 1

  node_config {
    preemptible  = true
    machine_type = var.machine_type

    metadata = {
      disable-legacy-endpoints = "true"
    }

    oauth_scopes = [
      "https://www.googleapis.com/auth/logging.write",
      "https://www.googleapis.com/auth/monitoring",
    ]
  }
}
Then define a file to fetch its environment variables: variables.tf
variable "name" {
  default = "demo-cluster"
}

variable "project" {
  default = "demo-gke-282614" //project-id from gcp
}

variable "location" {
  default = "us-central1"
}

variable "initial_node_count" {
  default = 1
}

variable "machine_type" {
  default = "n1-standard-1"
}
An output file to get its output variables defined: output.tf
output "endpoint" {
  value = google_container_cluster.default.endpoint
}

output "master_version" {
  value = google_container_cluster.default.master_version
}
Finally a version file: versions.tf
terraform {
  required_version = ">= 0.12"
}
Once the above declarative syntax is defined, we need to initiate the working directory containing the above files.
terraform init
Once this is initiated, we need to create an execution plan. Terraform performs a refresh, unless explicitly disabled, and then determines what actions are necessary to achieve the desired state specified in the configuration files. This command is a convenient way to check whether the execution plan for a set of changes matches your expectations without making any changes to real resources or to the state. For example, the below command might be run before committing a change to version control, to create confidence that it will behave as expected.
terraform plan
Now we are ready to deploy our configuration. Before you deploy there are certain steps specific to Google Cloud Platform that needs to be performed.
Visit: gcloud sdk page
- You have to install sdk into your computer
- That will enable you to run the code
- Log in to your associated gmail account
- Run
gcloud auth application-default login - Assign relevant Roles and permissions to your service account
Now we can execute the below command to apply the changes required to reach the desired state of the configuration, or the pre-determined set of actions generated by a terraform plan execution plan.
terraform apply
This will get your Kubernetes cluster created and make it up and running in GCP. Now you can login to the cluster and add your desired deployments and applications by calling kubectl apply.
Finally, if you want to delete your cluster instance or infrastructure then you can execute the following command:
terraform destroy
You can find more information about it in their official documentation page. If you want to learn more about the basics of Terraform variables, then you can take a look at this article: How to Use Terraform Variables (Locals, Input, Output, Environment).